It’s always a little amazing to me how a landscape painting evolves. Even though I’m intimately aware of the stages, it still surprises me every time when, in the end, I have something I can actually recognize and identify. Between the first dabs of paint and my final, victorious signature, there’s a whole lot of mess and doubt and wonder. Yet almost in spite of myself, in the end somehow it all comes together.
Here are the steps of a plein air painting I did last week out at the Galisteo Basin — a beautiful sweep of southwestern beauty about 15 miles south of Santa Fe. Midweek I drove out just after sunrise. ‘Took the Pup for a nice little hike, then from the front seat of my car, found a good vantage point to observe a sweet vista of fast moving clouds and endlessly shifting light.
[Apologies for some of the awkwardly angled photos, but it’s a bit cramped in my car, and my focus, of course, was on painting, not so much on getting well composed-photos. Hopefully they’re good enough to get a sense of the painting process, at least.]
My palette, clockwise from the bottom left:
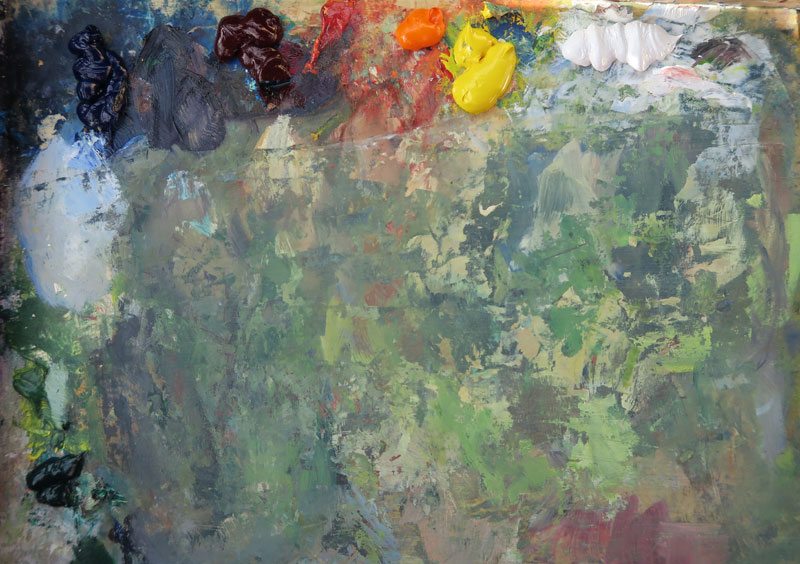
— windsor green (intensely strong; I’ll use this very minimally)
— green* mixed with ultramarine blue and hansa yellow (I’ll mix a lot more of this before I’m done)
— ultramarine blue (upper left corner)
— purple* mixed ultramarine blue and alizarin crimson
— alizarin crimson
— a bit of cadmium red light
— cadmium orange (this is to save time. I can get a color very close to this by simply mixing cadmium red light with hansa yellow, but I had a tube of cad orange, so I’m using it.)
— hansa yellow
— titanium white (I’m always amazed when plein air painting how much white I consume. Tons of it).
*If I think of it, I like to mix these colors in my studio, so as to save time once I’m out in the field, as the light and colors can change so quickly.
This is a more varied palette than I usually use in the field. Often I aim to use a “minimal palette” of just 4 colors — ultramarine blue, alizarin crimson, hansa yellow and titanium white. But I’ve been wanting to play with a bit more variety of colors, so have added a couple more.
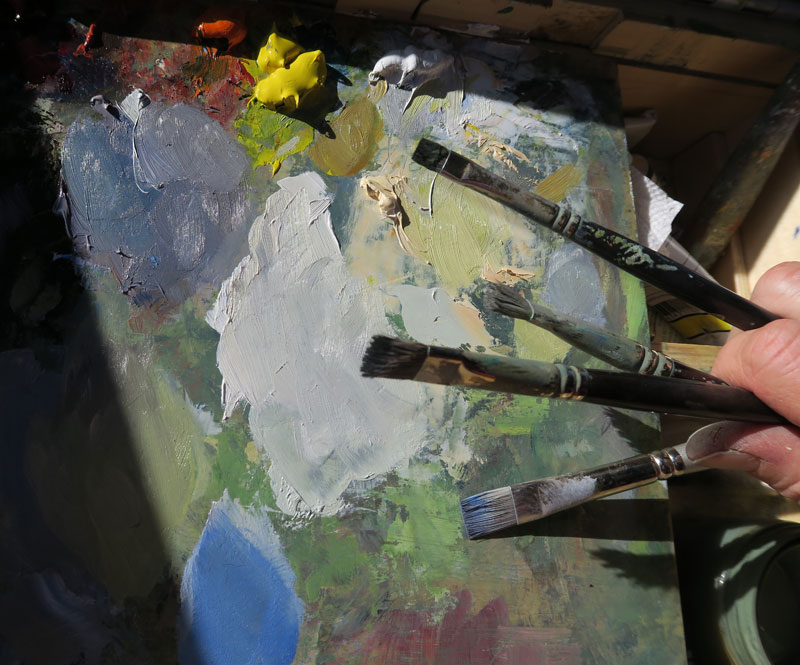
Below, some of the brushes I used today. The largest one is a #6 “bright” — essentially a flat, compact brush with the toe end of the bristles forming a straight edge, and the belly of the brush about 1/2″ wide.
Note the colors mixed on the palette. At this point I was working on the lightest elements of the painting, namely the sky and highlights of the grasses — but that’s jumping ahead.
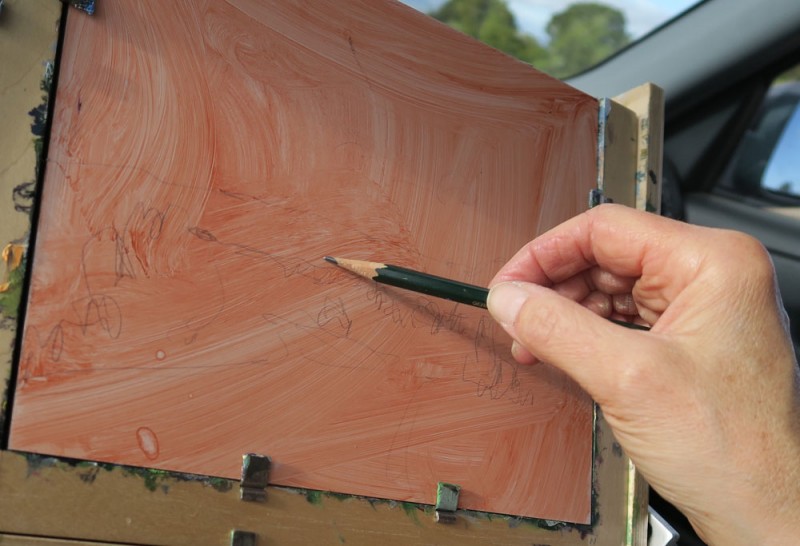
The first step in my creation of a traditional landscape painting is done back in the studio, where I stain the panel a warm orange-brown. I do this partly because the white surface is intimidating in its purity and brightness. More important, I do it because so much of my New Mexico landscapes are made up of blue (sky). Orange is the opposite of blue; they are compliments. So when I paint blue sky over orange, the orange makes the blue sing with vibrancy. Moreover, staining the panel orange-brown adds warmth and cohesion to the overall painting, as little flecks of it will appear here and there in the final painting.
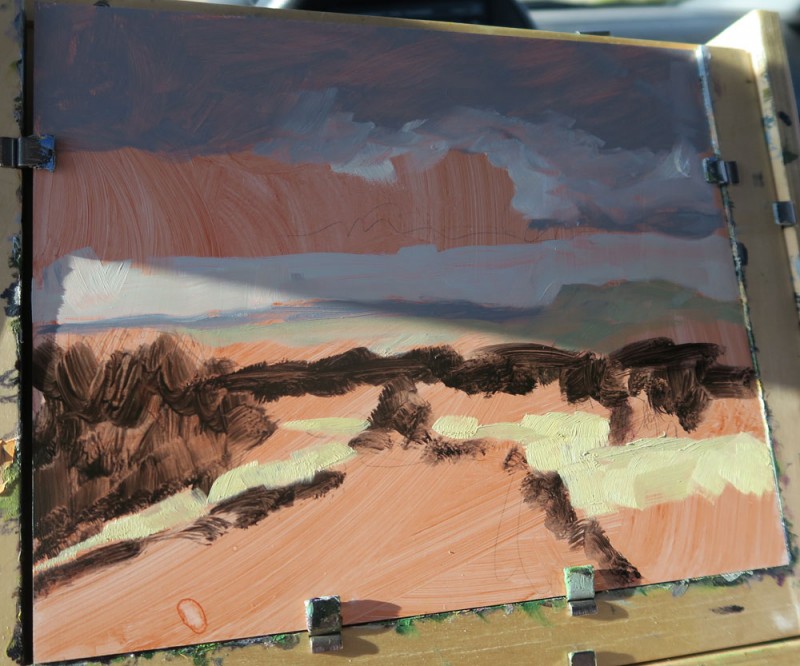
Out in the field though, my first step after arranging my gear is to do a quick loose sketch to organize my perception into a composition. Note how I’m holding the pencil — this helps keep my marks loose and gestural, without getting caught up in needling details.
Then, I figure out where the “darkest darks” are, and block those in with the darkest mixture I can muster — some variation of my darkest paints all mixed together — usually ultramarine blue mixed with alizarin crimson mixed with windsor green with a touch of yellow
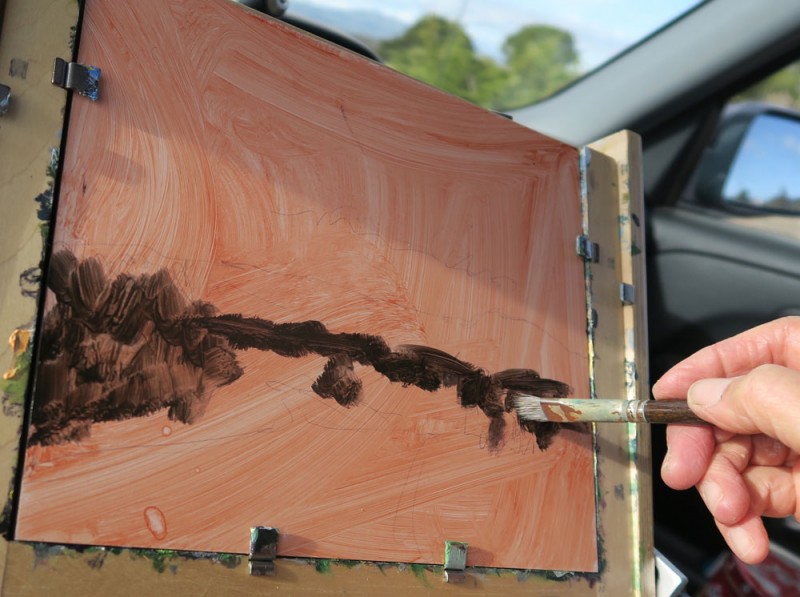
Next, I block in the “lightest lights” — in this case the dry winter grasses radiant with sunlight and also the far distant sky — then on to the distant mesas, trying to capture that certain shade of faraway green.
Incidentally, this business of blocking in the “darkest darks” first followed by the “lightest lights” I picked up from master painter Kevin MacPherson’s excellent book Fill Your Oil Paintings with Light and Color.

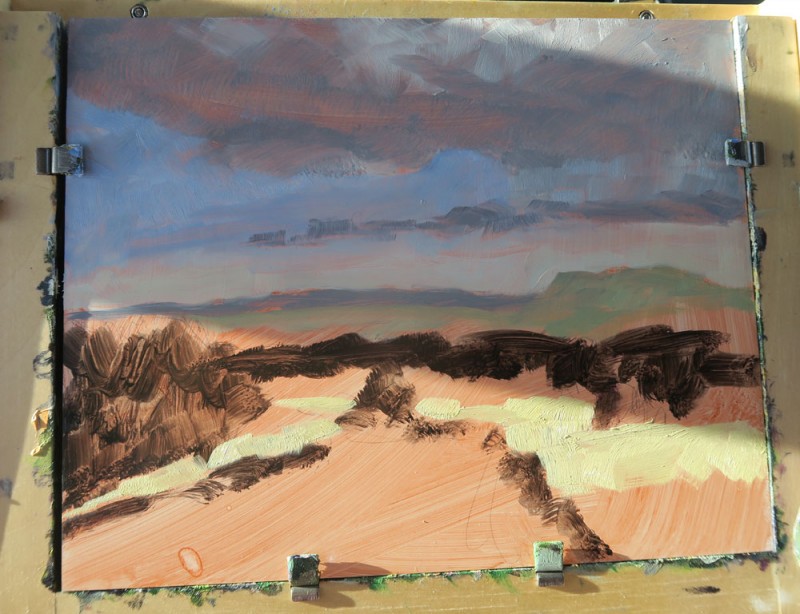
Then onto the sky. When I started this painting, the sky overhead was consumed in a massive grey cloud bank. All the while I was painting it was churning:
Punching in some blue to the sky. Already that massive cloud had lightened and is starting to change shape and break up:
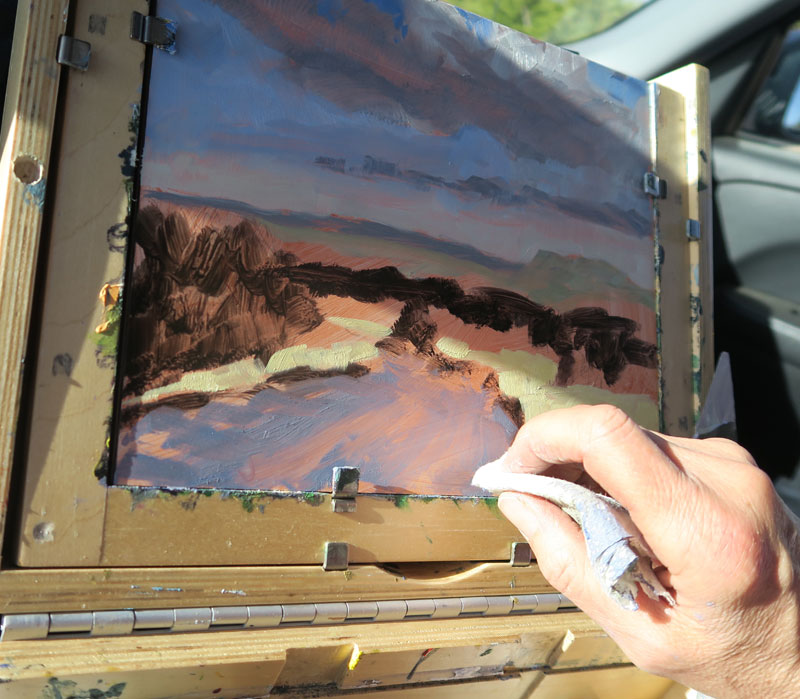
Adding some color to the foreground, including the road.
A wad of paper towel is as important a tool for me as a brush. I used it to pick up some of the paint in the cloud bank and now here, to soften the strokes in the foreground:
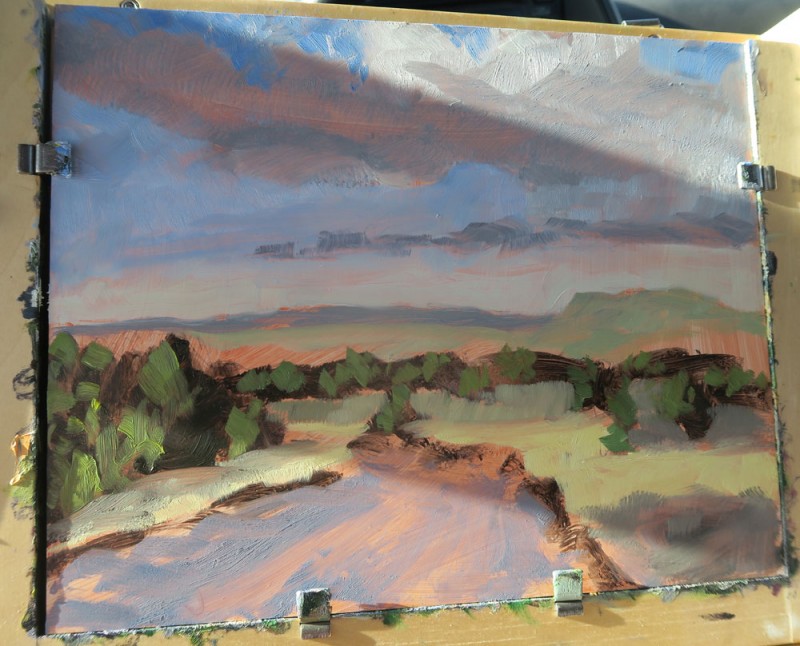
Now to go in with green, and start adding a sense of the light hitting the junipers. I always find this challenging. I’ve learned that it really helps when you lay the darks down first, then “paint to the light.” For some reason that works much better than going the opposite direction of light -> dark.
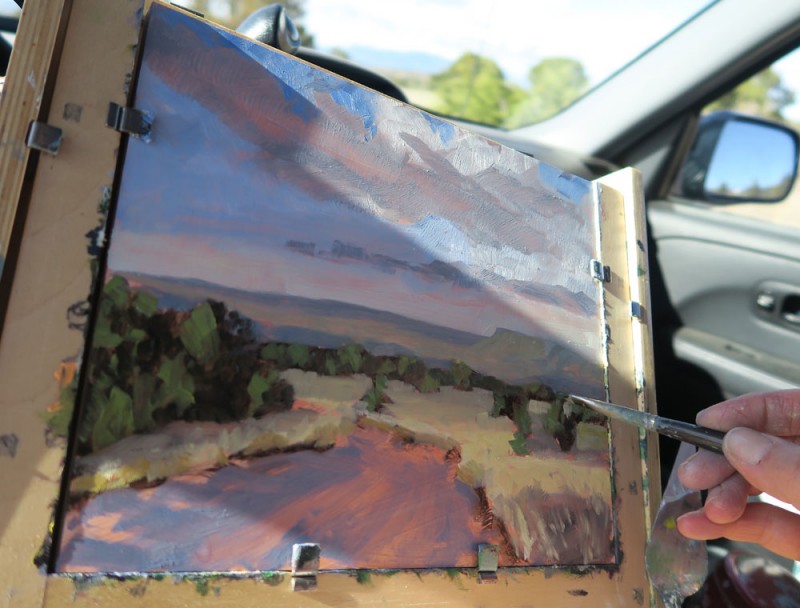
Note the difference in overall color between the image above — where direct sunlight is hitting my easel — and the image below, where a cloud has moved in. Notice a difference?
The one above has the glare of bright sunlight as well as a harsh shadow from the car window frame.
In the image below — where my whole easel in in shadow — the overall painting is much, much cooler and bluer.
Which is the true color? That in the sunlight or that in the shadow?
Therein lies the challenge of painting en plein air.
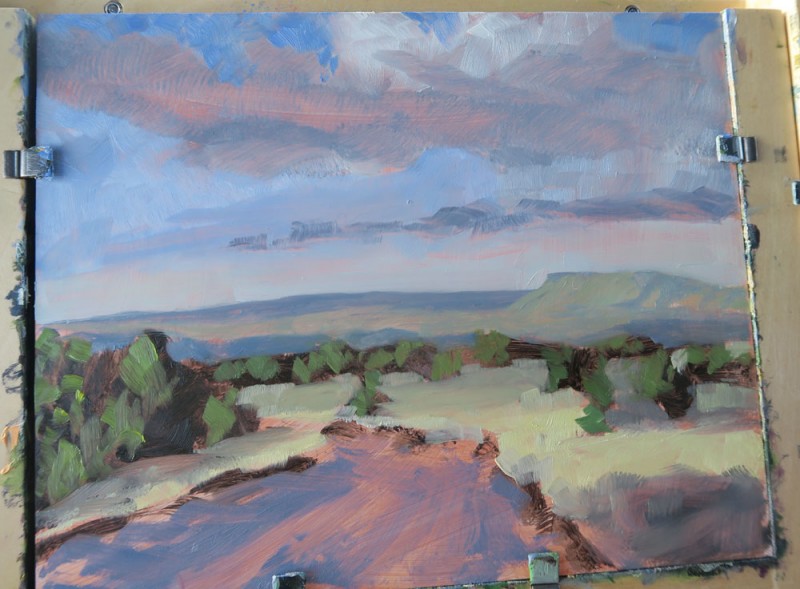
Softening some of the shadows and adding a few highlights and a little more detail:
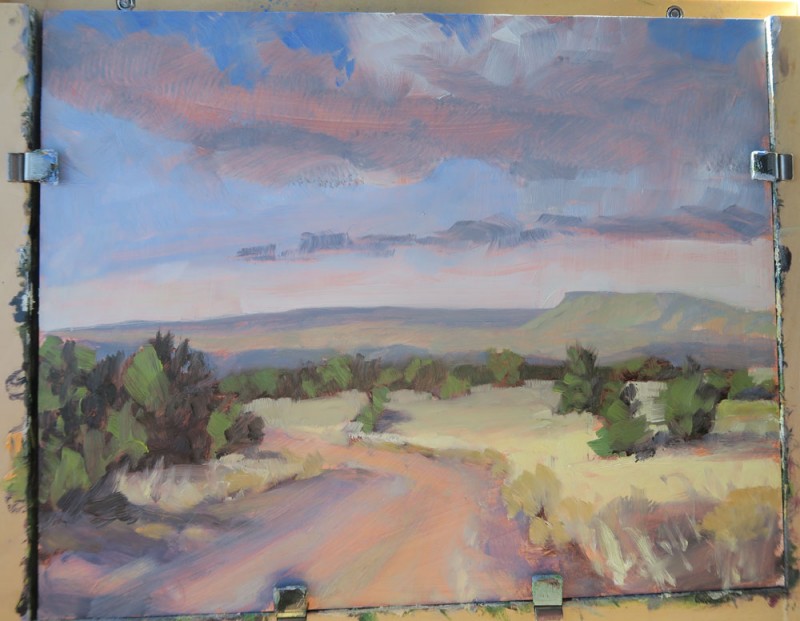
The clouds have continued to change; below, I update them with a little more shadow and highlights.
The mid-ground looks a little too smooth, so I add some quick marks to suggest cholla cacti, which are abundant out here.

Deem it finished and scrawl my signature with a pencil, etching it into the wet paint.
Total time: about 40 minutes, give or take, which includes occasional interruptions from someone in the back seat.

And yes — this painting is for sale. 🙂 Buy it here — though note it won’t be ready to be shipped for a few weeks yet, to allow the paint to dry fully.